Do you know how to test trailer lights? Installing, or replacing, trailer lights can be a tricky job. If any of the wires were connected incorrectly, or if a light bulb has gone bad, your car or truck may not recognize that all is good with the wiring harness and trailer lighting system. Learning how to inspect the connection of your trailer lighting system will save you time and money in costly repairs and frustrating trips back home for forgotten items. In this blog post, we’ll teach you step-by-step instructions on how to use a multimeter to properly test trailer lights!
How to identify a trailer light issue?
The first step in diagnosing your trailer lights issue is to identify the problem. If you notice that one or more of your headlights, tail lights, or brake lights isn’t working, they likely need to be replaced. Check each light bulb individually by turning on the headlight and noticing if it is illuminated. If not, replace it with a new one that matches its specifications. You should also check for any wiring issues, such as frayed wires or loose connections.
If all of the bulbs are functioning correctly but still no lights appear when you activate them, then you may have an issue with your tow wiring system/trailer connector plugs. To fix this problem you will need to do some more complex troubleshooting, such as checking all of the wiring connections and ensuring they are free from damage. You can also check the trailer connector plugs for corrosion or other signs of wear and tear.
How do test trailer lights with a multimeter?
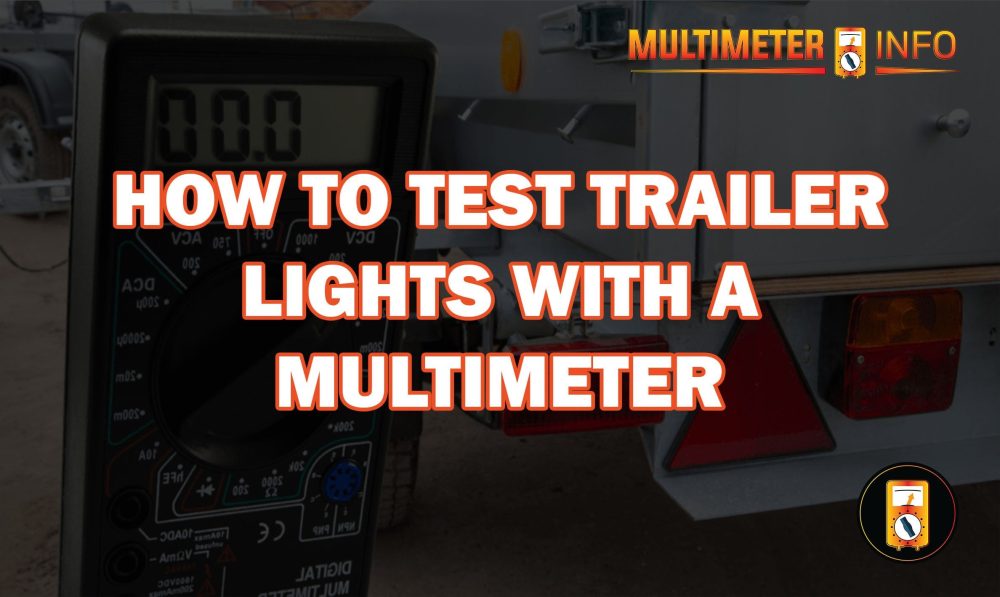
Testing the trailer lights with a multimeter is relatively easy and can be completed in less than 10 minutes.
- Begin by checking the ground connection of your trailer lights to ensure that it is securely connected.
- Verify that the trailer plug is working properly by having someone pull on the cord while you monitor the voltage with the multimeter.
- Connect one lead of a multimeter to the positive wire, and the other lead to each light, in turn, taking note of their corresponding voltages as you go along; typically lights should read 12 volts or higher when lit.
- Finally, test each lighting connector to make sure they are all firmly connected and provide power where necessary.
Once you have completed these steps, your trailer lights should be fully operational again! If not, then further troubleshooting may be necessary. If you experience any difficulties, it is best to have a professional take a look at your trailer lights for further assistance.
With these tips, you should now have the knowledge to easily test your trailer lights with a multimeter.
Testing the trailer plugs with a multimeter:
To test the trailer plugs using a multimeter, first set the dial on the multimeter to measure volts. Then attach each probe from the meter to one of the terminals. If you see 12 volts on both sides, then your trailer plug is functioning correctly. Additionally, if you have a 7-pin connector, check that all seven poles are working by testing each one individually.
If we don’t get 12 volts on both ends or there is a break in any of the pins for our 7-pin connector, it may be time to replace your trailer plug. Before replacing your plug, make sure to turn off the power for safety, and consider using dielectric grease when connecting wires to help prevent corrosion and ensure a good connection.
You can easily find replacement trailer plugs at any automotive store. Once you have the new plug, reconnect all of the wires and test with a multimeter to make sure it is working properly before taking your trailer out on the road.
Remember that testing your trailer plug regularly is important for your safety and peace of mind when using a tow vehicle. With the right tools and a bit of knowledge, you can easily check if your connector is working and replace it if necessary.
Testing connectors with a multimeter:
Testing connectors is a crucial process to ensure their functionality and reliability. A multimeter allows for easy testing of the electrical properties of the connector, including continuity, voltage, resistance, or current. To test a connector with a multimeter, follow these steps:
- Select the desired function on your multimeter (continuity, voltage, etc.), and make sure that you have selected the correct range if applicable.
- Connect one end of the cable attached to your multimeter to one side of the connector; this should be done at both ends if possible to provide an accurate reading.
- Connect the other end of the cable attached to your multimeter to its corresponding connector pin on the opposite side of the connector.
- Once connected, read the indicated value on the multimeter and compare it to your desired threshold level.
- If necessary, adjust the range or probe placement of your multimeter to get an accurate reading.
- Repeat these steps for all pins connecting to one side of the connector to check the continuity between them.
- Swap sides of the connectors and repeat these steps for all pins connecting to the other side of the connector to check continuity between them as well.
- Check that all readings are within acceptable values before continuing with further testing or installation processes.
It is important to make sure that you have tested all of the pins on both sides of the connector and that none are shorted or damaged.
When testing connectors, it is important to be aware of any safety regulations and follow them accordingly to avoid any accidents. Additionally, make sure that you have selected the correct range for your multimeter to get an accurate reading. By following these steps and paying attention to safety regulations, you can easily test a connector with a multimeter.
Benefits of using a multimeter to test trailer lights:
- Multimeters are designed to be incredibly accurate, allowing for precise testing of trailer lights.
- They can accurately measure voltage, current, and resistance to pinpoint any problems with the wiring system or connections.
- The ability to quickly detect shorts or open circuits is beneficial as it helps you prevent further damage that could potentially occur due to overloads or faulty connections.
- Multimeters allow for quick diagnosis of any issues which saves time and money in making repairs.
- Testing with a multimeter will help avoid unnecessary spending on new parts, as it can identify whether something has gone wrong before buying a replacement part that may still not fix the issue at hand.
- With the multimeter’s continuity test, you can easily identify any broken wires in the trailer lighting system.
- The capability to monitor and measure current ensures that your trailer lights are not drawing too much power from the vehicle’s electrical system.
- A multimeter also provides a quick way to verify if different light sources such as LED and halogen bulbs are working correctly.
- When testing for voltage, a multimeter allows you to quickly ensure there is enough power in the battery or other source of electricity before making a connection.
- Using a multimeter to diagnose any issues with wiring or connections, helps save time and money as well as avoid potential safety hazards associated with trailer lights being inoperable.
All of these factors make a multimeter an essential tool for testing trailer lights, as it is both accurate and efficient in identifying any potential issues. Having the right equipment ensures that your trailer lighting system will remain safe and operational while on the road. Therefore investing in a multimeter to test trailer lights is highly recommended. This will help guarantee the best safety outcomes for you and your vehicle.
Frequently Asked Questions:
A digital multimeter is the most accurate and reliable tool for testing trailer lights. Digital multimeters allow you to accurately measure voltage, resistance, and current, which are all important factors when it comes to diagnosing electrical issues in your vehicle’s lighting system.
To accurately test the functionality of your trailer lights with a digital multimeter, you’ll need an understanding of how the electrical system works. First, disconnect the power source from your trailer light wiring harness and set your multimeter to DC volts. Next, touch one probe of the meter to one wire side of the trailer light connection and the other probe to the other wire side. The reading should be between 12 and 24 volts, depending on your vehicle’s power source. If you get a different reading, then there may be an issue with your wiring or components.
In addition to testing trailer lights, digital multimeters can be used to diagnose electrical issues in many other applications such as checking battery life or diagnosing problems with relays and switches. They can also be used to troubleshoot automotive engine codes and measure AC voltage in household appliances like washing machines or dryers.
Conclusion:
In Conclusion, testing trailer lights with a multimeter is an easy and effective way to check the function and wiring of your trailer’s lighting system. It is important to always double-check all connections before taking your trailer out on the road. With regular inspections, you can rest assured that your trailer lighting will work properly when you need it most. Thank you for reading this guide on how to test trailer lights with a multimeter.


